HTML + CSS - Lesson 1
Making a HTML Document Editor
Code Writing Software:
In this lesson, we will be writing code using the free code writing software, Visual Studio Code. However, you can use almost any other simple code writing software.
After you downloaded VS Code, create your own folder in the documents of your computer’s file explorer where you can keep and organize all of the files in this course. In that folder, I made a file called, “HTML CSS Website.”
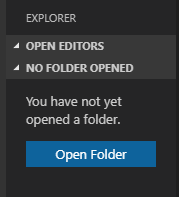
Next, go back to Visual Code Studio and select “Open Folder” and select the folder you just made.
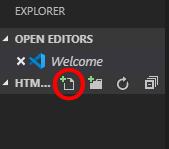
Now, add a new file to the folder from Visual Code Studio:
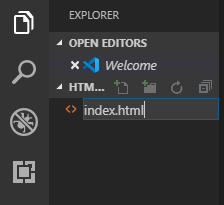
Name the file “index.html” which will allow Visual Code Studio to realize the language of code you are writing in which is html.
HTML is a very straightforward coding language where each part of the website has its own unique “tag.” However, to begin coding in HTML the first line of code must be <!DOCTYPE html> in order to let a computer know that it needs to interpret the HTML coding language.
Following this line, there are two basics to know about HTML code: it starts off broad and becomes more specific and each html tag comes in pairs and requires an opening and closing line. Therefore, the next line of code is the opening <html> tag followed by pressing enter which allows the closing </html> tag to be written below it.
Next, as we are becoming more specific, we will write a head to the webpage. Therefore, to define this action, press enter and write the opening tag, <head> , and then again press enter and seeing the closing tag of, </head>.
Within these tags we will write a title for the web browser, using <title> Your Website Name! </title>.
So far, your code should look like this:
    <!DOCTYPE html>
      <html>
        <head>
          <title>
             Your Website Name!
          </title>
        </head>
      </html>
Next, we are going to describe what our website is about. To do this, we need to leave the head of the website. To do this, click to the right of the </head> tag (line 7) and press enter.
We will then Use body tags, <body> </body> which defines the body of our website. In Between those we will add a header with the <h1> </h1> tags. We can say <h1> Website Name</h1> . Note: For this tutorial we will be only using one header but you can add many <h#> </h#> tags.
Also, between the body tags we need to add paragraph tags, <p> </p> so we can describe our website.
    <!DOCTYPE html>
    <html>
      <head>
        <title>
          Your Website Name!
        </title>
      </head>
       <body>
        <h1>
          <Website Name>
        </h1>
        <p>
           Welcome to my website! On this Website I will be sharing...
        </p>
      </body>
    </html>
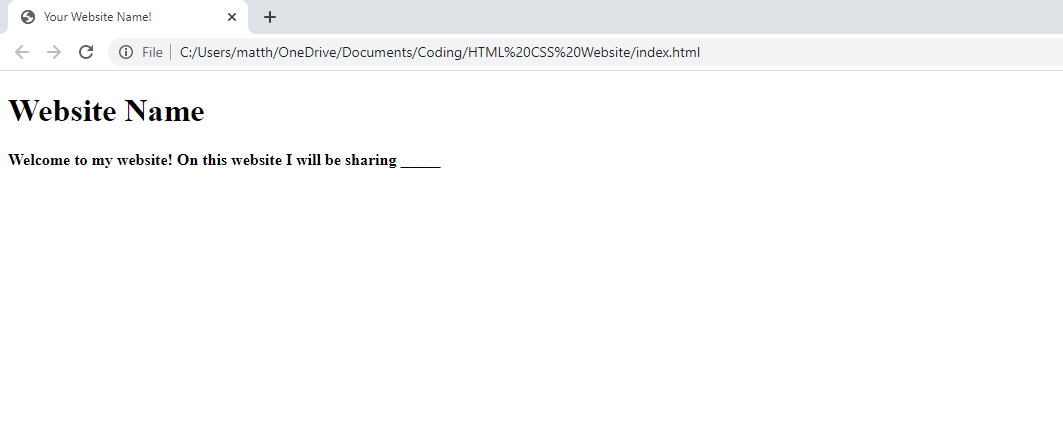
As this information is very important to the overall website, we should make it bold by adding bold tags in between the paragraph tags, <b> </b>. In the middle of the two tags, you can write anything you want, such as <b> Welcome to my website! On this website I will be sharing ________</b> .
    <!DOCTYPE html>
    <html>
      < head>
        <title>
          Your Website Name!
        </title>
      </head>
       <body>
        <h1>
          <Website Name>
        <h1>
        <p>
           <b>
            Welcome to my website! On this Website I will be sharing...
           </b>
        </p>
      </body>
    </html>
Note how as mentioned in the begging of this lesson the code is becoming more and more specific, which is evident by the indentations of the lines of code.
Before we test our code, it is important that we make sure that all of our tags (except for the first <!DOCTYPE html> tag) have opening and closing tags as otherwise the code will not run. We also need to save our work by clicking “File” “Save” or by pressing “Ctrl” “S” simultaneously.
Now we will go to the file we made from the start of the lesson. Open your computer’s file explorer and find the folder we made earlier. Right click on the html file, hover over “Open With” and select your browser of choice such as “Google Chrome.”
Now, you should have your very own basic webpage!